JavaScriptでつくるシンプルなモーダルウィンドウの実装方法
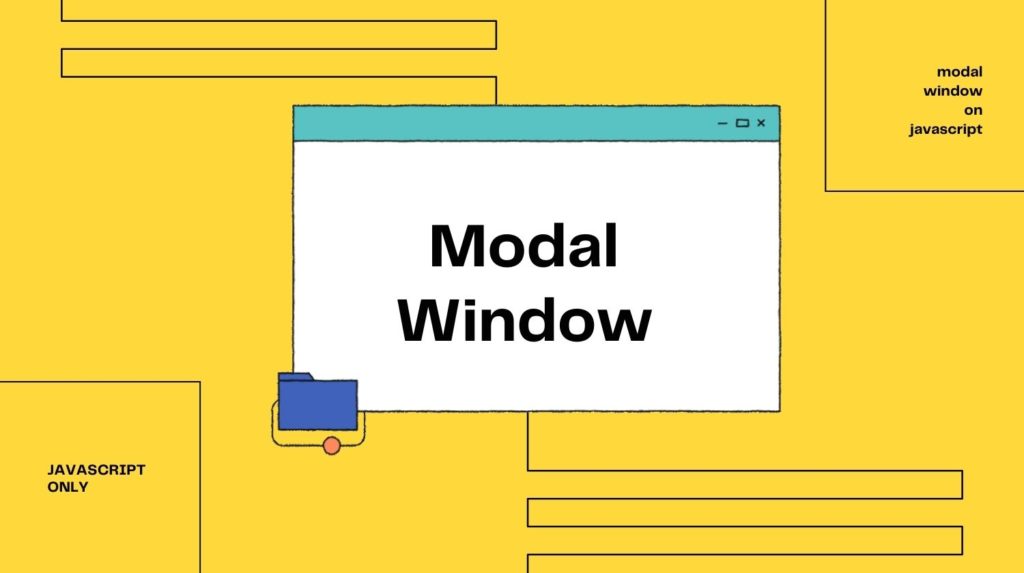
jQueryやプラグイン不要のJavaScriptでつくるモーダルウィンドウについて紹介します。
JavaScriptの記述量も少ないので、簡単に仕組みを理解して実装することができます。
それでは見ていきましょう。
サンプルをご覧ください
サンプルを2つ用意しました。
違いはモーダル内のHTMLのテキスト量が異なるだけで、CSS・JavaScriptは同じ記述内容になります。
このようにモーダル内のテキスト量がウィンドウ幅を超えた場合でも、スクロールして内容を閲覧することができます。
今回はこちらのモーダルについて解説していきます。
HTMLの記述
<!-- モーダルを開くボタン -->
<button class="modal-open js-modal-open">モーダルを開く</button>

<!-- モーダル本体 -->
<div class="modal js-modal">
  <div class="modal-container">
    <!-- モーダルを閉じるボタン -->
    <div class="modal-close js-modal-close">×</div>
    <!-- モーダル内部のコンテンツ -->
    <div class="modal-content">
      <p>開きました。</p>
    </div>
  </div>
</div>
HTMLではモーダルを開くボタン、モーダル本体、モーダルを閉じるボタン、モーダル内部のコンテンツを作成します。
JavaScriptで処理をする要素には、接頭辞に「js」の付いたクラスを追加します。
CSSの記述
/* モーダルを開くボタン */
.modal-open{
  position: fixed;
  top: 50%;
  left: 50%;
  font-size: 16px;
  font-weight: bold;
  width: 300px;
  height: 60px;
  color: #fff;
  background: #000;
  border: none;
  cursor: pointer;
  translate: -50% -50%;
}

/* モーダルと背景の指定 */
.modal{
  position: fixed;
  top: 0;
  left: 0;
  width: 100%;
  height: 100%;
  text-align: center;
  background: rgba(0,0,0,50%);
  padding: 40px 20px;
  overflow: auto;
  opacity: 0;
  visibility: hidden;
  transition: .3s;
  box-sizing: border-box;
}

/* モーダルの擬似要素の指定 */
.modal:before{
  content: "";
  display: inline-block;
  vertical-align: middle;
  height: 100%;
  margin-left: -0.2em;
}

/* クラスが追加された時の指定 */
.modal.is-active{
  opacity: 1;
  visibility: visible;
}

/* モーダル内側の指定 */
.modal-container{
  position: relative;
  display: inline-block;
  vertical-align: middle;
  max-width: 600px;
  width: 90%;
}

/* モーダルを閉じるボタンの指定 */
.modal-close{
  position: absolute;
  display: flex;
  align-items: center;
  justify-content: center;
  top: -20px;
  right: -20px;
  width: 40px;
  height: 40px;
  color: #fff;
  background: #000;
  border-radius: 50%;
  cursor: pointer;
}

/* モーダルのコンテンツ部分の指定 */
.modal-content{
  background: #fff;
  text-align: left;
  line-height: 1.8;
  padding: 20px;
}

/* モーダルのコンテンツ部分のテキストの指定 */
.modal-content p{
  margin: 1em 0;
}
モーダルのスタイルを作成します。
クラスの追加・削除で、モーダルを表示・非表示にする仕様にしますので「is-active」クラスにモーダルが表示されたときのプロパティを指定します。
JavaScriptの記述
//要素を取得
const modal = document.querySelector('.js-modal'),
      open = document.querySelector('.js-modal-open'),
      close = document.querySelector('.js-modal-close');

//「開くボタン」をクリックしてモーダルを開く
function modalOpen() {
  modal.classList.add('is-active');
}
open.addEventListener('click', modalOpen);

//「閉じるボタン」をクリックしてモーダルを閉じる
function modalClose() {
  modal.classList.remove('is-active');
}
close.addEventListener('click', modalClose);

//「モーダルの外側」をクリックしてモーダルを閉じる
function modalOut(e) {
  if (e.target == modal) {
    modal.classList.remove('is-active');
  }
}
addEventListener('click', modalOut);
JavaScriptの記述内容を大まかに説明すると「該当する要素をクリックしたらクラスを追加・削除」する処理を記述してます。
まず「querySelector」でモーダル本体、開くボタン、閉じるボタンの要素を取得します。
「addEventListener(‘click’)」というクリックイベントで、クラスを追加・削除してモーダルを制御しています。
「モーダルの外側」をクリックしてモーダルを閉じる場合は、if文で「e.target == modal」を判定しています。
「e.target」はウィンドウ内のどこをクリックしたのかを取得することができるので、モーダル外側をクリックすると条件が成立してモーダルを非表示にすることができます。
まとめ
JavaScriptでつくるシンプルなモーダルウィンドウの実装方法について紹介しました。
よかったら参考にしてみてください。
jQueryでの実装方法はこちらの記事をご覧ください。